Hello Zimbra Customers, Partners & Friends,
In this post, you’ll learn how to enable DANE for incoming email in Zimbra. DANE is a security protocol that adds additional verification of a TLS certificate. We covered setting up DANE for outgoing email in this post.
Here’s some background …
Email is sent over the internet with the SMTP protocol. SMTP is an opportunistic protocol designed to fall back to unencrypted data transfer if email servers for some reason cannot establish a secure connection.
The crucial difference between TLS for mail and TLS for the web (HTTPS) is that the use of `https’ in a URL implies that TLS must be used and that a dedicated TCP port (number 443) is available for that purpose. By contrast, with mail there is currently no way to force the use of TLS.
The IT industry has a number of initiatives that aim to (at some point in the future) require TLS for SMTP.
One of these initiatives is MTA-STS, which we covered in our blog https://blog.zimbra.com/2021/07/zimbra-skillz-enhance-email-confidentiality-using-mta-sts/
Another initiative is DANE, a security protocol that adds additional verification of a TLS certificate. Compared to MTA-STS, DANE is more secure as it requires the use of DNSSEC, so it can’t be tampered with by attacking DNS transmissions. DANE will also provide additional verification of the TLS certificate used for encryption. This means that TLS communication can only work with the certificate that has been set up via DANE. This way, even when a rogue TLS certificate authority issues a certificate for your server, it cannot intercept your data.
DANE is completely implemented in Postfix and Zimbra whereas MTA-STS currently only works for incoming email.
More background on email encryption and DANE can be found below in the further reading section.
Configure DANE for Incoming Email
To use DANE, create a hash of your TLS certificate and publish this hash in DNS via a TLSA DNS record. Then clients and servers that implement DANE can verify that the TLS certificate used for the transmission is the same one published in DNS.
The approach shown will work with Let’s Encrypt and other commercial certificates.
Certificate Renewal or Rollover
There are many different ways to implement DANE, but the most secure and practical way is to use the 3 1 1 TLSA trust anchor to pin down the actual keys your server certificate uses.
Then, when you do a certificate renewal, you can opt to not use a new private key. Basically, use openssl to create a new Certificate Signing Request (CSR) and use the same private key. Then you can continue to use the same 3 1 1 TLSA record. This is very practical if you renew your certificate frequently, for example with Let’s Encrypt.
If you use Let’s Encrypt, run certbot with the --reuse-key option to use the same TLSA record for a longer period of time. This is the one-liner I use, but this is for reference only. Do your own research to make it work for your use of certbot.
/usr/local/bin/certbot --manual --reuse-key --preferred-chain "ISRG Root X1" --expand --manual-auth-hook /usr/local/sbin/hook.sh --manual-cleanup-hook /usr/local/sbin/cleanhook.sh --preferred-challenges dns -d "zimbra.tech" -d "*.zimbra.tech" certonly --manual-public-ip-logging-ok -n
I use manual-auth-hook and manual-cleanup-hook scripts to set the Let’s Encrypt DNS challenge in my DNS server, increment the DNS zone serial and trigger a DNSSEC signing of the zone. You may not need this, but here is more information in the Let’s Encrypt documentation.
In cryptography all keys have a shelf life, and it’s good practice to rotate certificate keys after a while. The further reading section has a link for what to do if you want to do a roll-over with a new TLSA record.
Generating a TLSA record
To generate the TLSA record, create the following bash script. Replace mail.zimbra.tech with the domain name of your mail server and /etc/letsencrypt/live/zimbra.tech/cert.pem with the path to your certificate.
#!/bin/bash

printf '_25._tcp.%s. IN TLSA 3 1 1 %s\n' \
        mail.zimbra.tech \
        $(openssl x509 -in /etc/letsencrypt/live/zimbra.tech/cert.pem -noout -pubkey |
            openssl pkey -pubin -outform DER |
            openssl dgst -sha256 -binary |
            hexdump -ve '/1 "%02x"')
The output would be:
_25._tcp.mail.zimbra.tech. IN TLSA 3 1 1 9fe61e181ec3e2b4f451fa6c679e3c50c47f53ad40f90bfe6bf7312609a32948
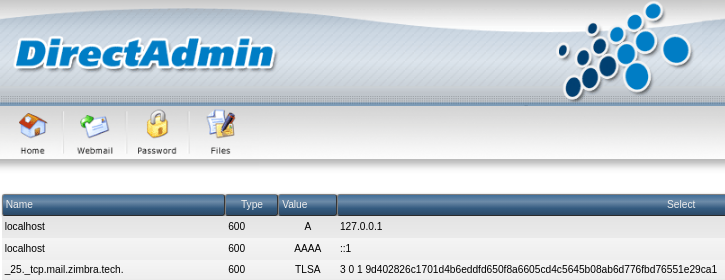
If you use a Bind DNS server, copy/paste this entire line into your zone file. Here is an example how it looks on Direct Admin:
Test your incoming DANE
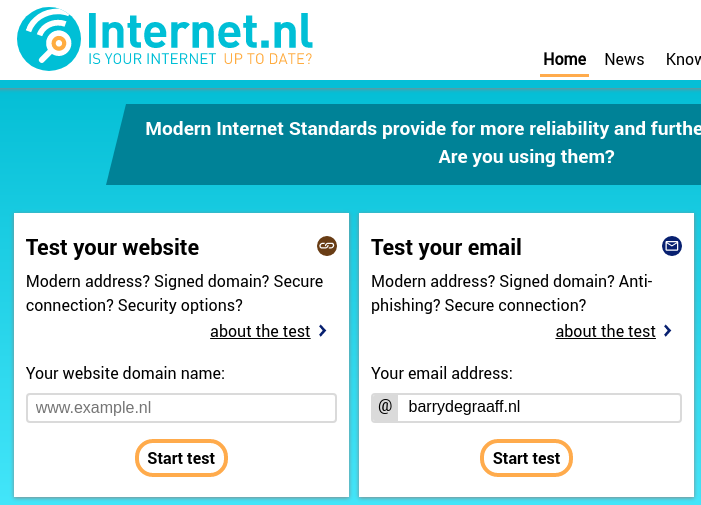
Go to https://internet.nl/ and type your email domain in the email test and click Start test.
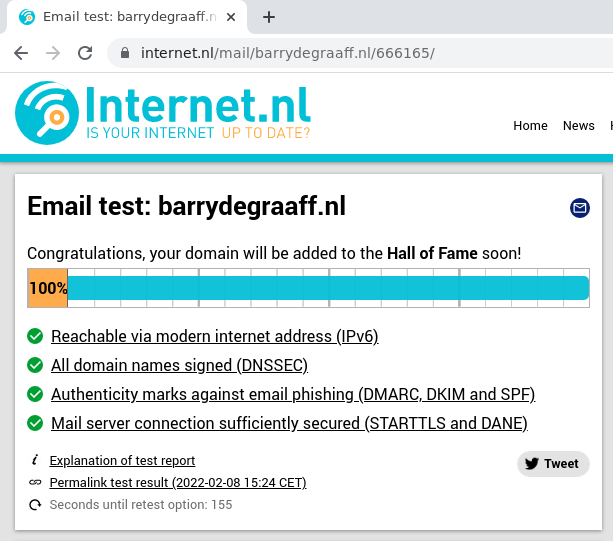
Here are the test results.
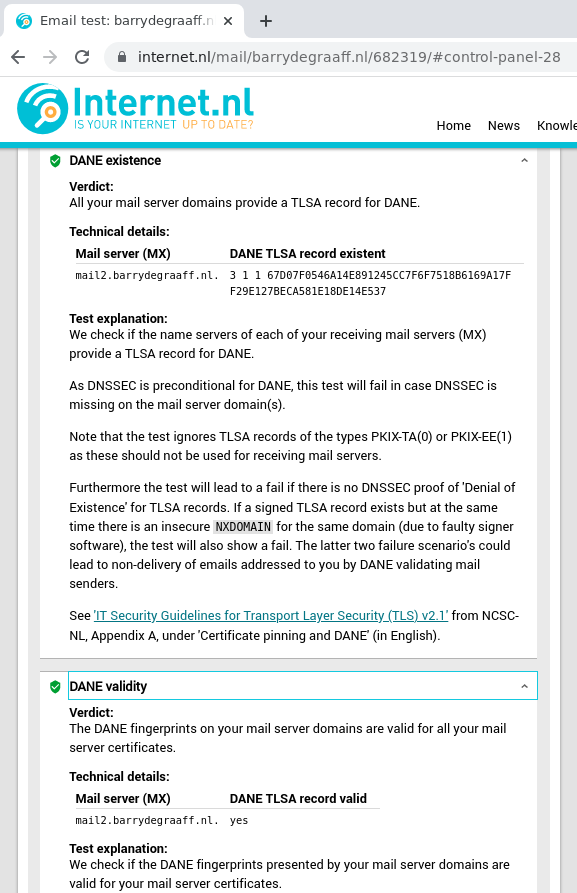
You can scroll down on the test results page and see details of all tests performed, the last test checks for DANE existence and validity.
See also: https://wiki.zimbra.com/wiki/Cipher_suites
Further reading
Some of these where also used as reference for this article.
- Enable DANE in outgoing email: https://blog.zimbra.com/2022/03/zimbra-skillz-enable-dane-verification-for-outgoing-email-in-zimbra/
- https://www.sidn.nl/en/dnssec/starttls-and-dane-may-be-made-mandatory-for-outgoing-mail-as-well
- About rollover: https://blog.apnic.net/2017/01/06/lets-encrypt-dane/
- https://icicimov.github.io/blog/server/Lets-Encrypt-and-DANE/
- https://internet.nl/
- https://www.networking4all.com/en/support/faq/what-is-dane-and-dnssec
- https://community.letsencrypt.org/t/current-next-dane-key-rollover-and-rotation-for-3-1-1-tlsa-records/141181
Thanks,
Your Zimbra Team


Comments are closed.